Contact Details
Website: techextension.com Store :store.techextension.com
Email: support@techextension.com Skype: tech.extension
Product Page: VtigerCRM Asterisk Integration
Supported IP PBX / Call Center Server
Asterisk, Elastix, FreePBX, PBX in a Flash, Vicidial, Asterisknow, Yeastar PBX, Xorcom, Asterisk pbx, Fonality, Trixbox , Other Asterisk Based Telephonic Server
Prerequisite
- JRE 1.7 or higher version should be installed on PBX Server.
- Require CDR Event should be enable for Asterisk Server.
- Require port 9999 should be enable for CRM Server and port 5038 for Asterisk Server.
- Supports Asterisk, Elastix, FreePBX, vicidial, PBX in a Flash, asterisknow, xorcom, asterisk pbx, fonality, trixbox or Asterisk Based Telephonic Server.
- Support Soft phone or Sip based hard Phone.
- There should be connectivity between CRM and Asterisk server.
- Please make back up of data of crm and asterisk and also crm folder before Installation.
Installation Steps
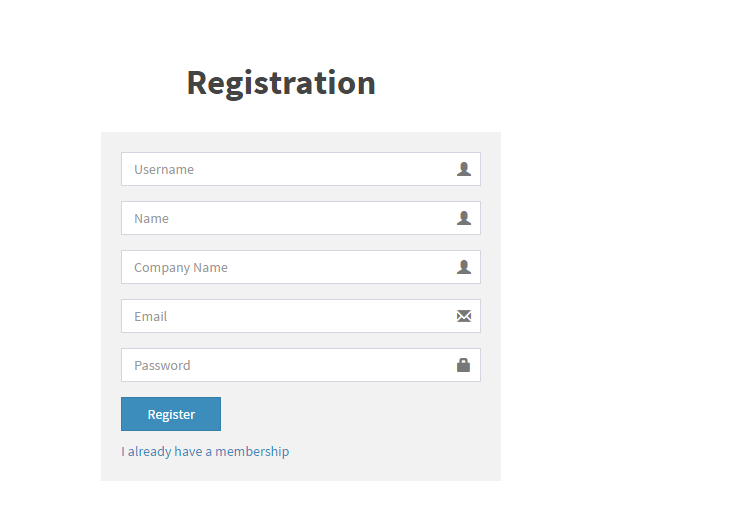
Create Account On Our Portal https://license.techextension.com/register.php
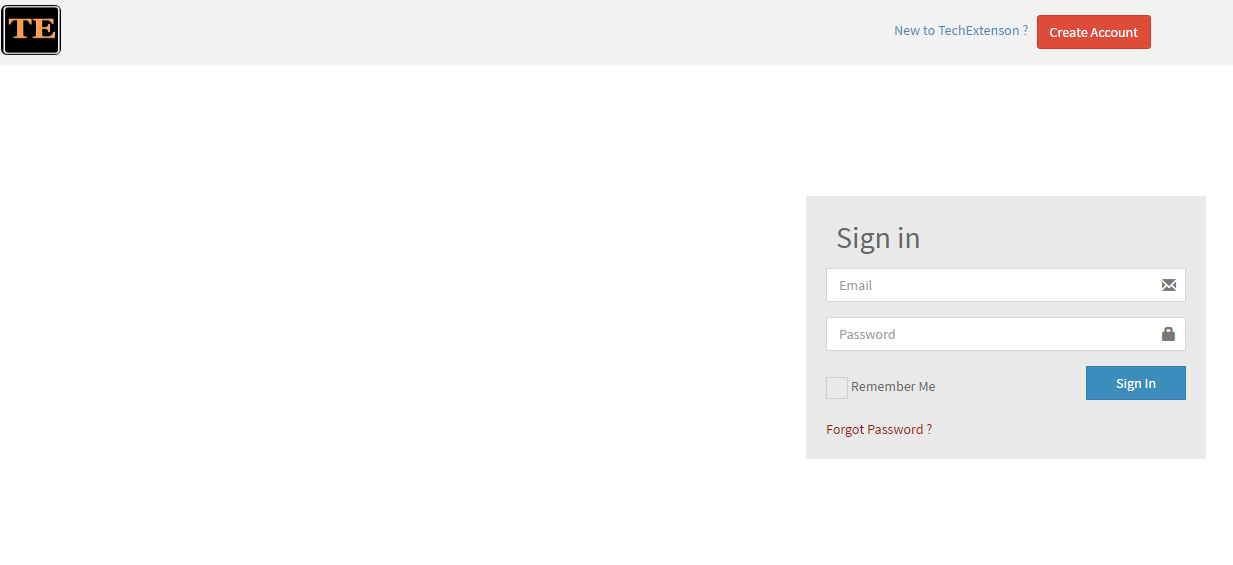
Log In after Creating account https://license.techextension.com/login.php
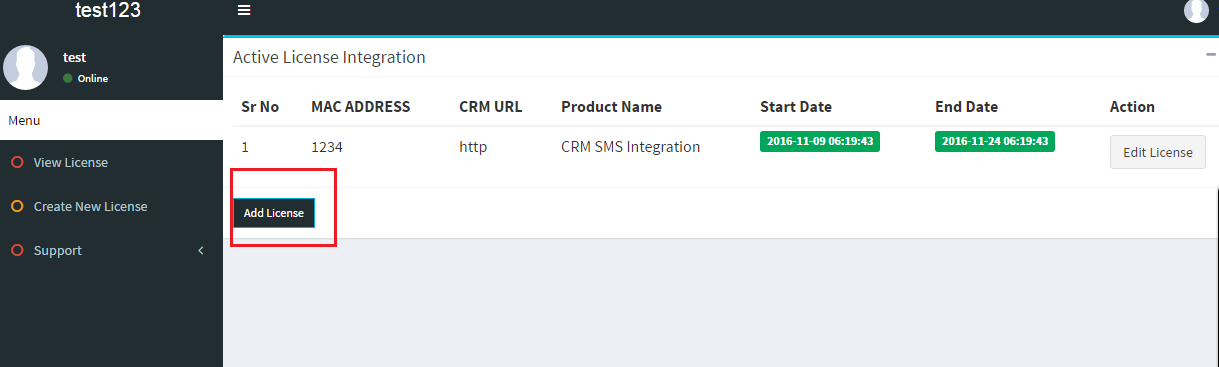
Add License
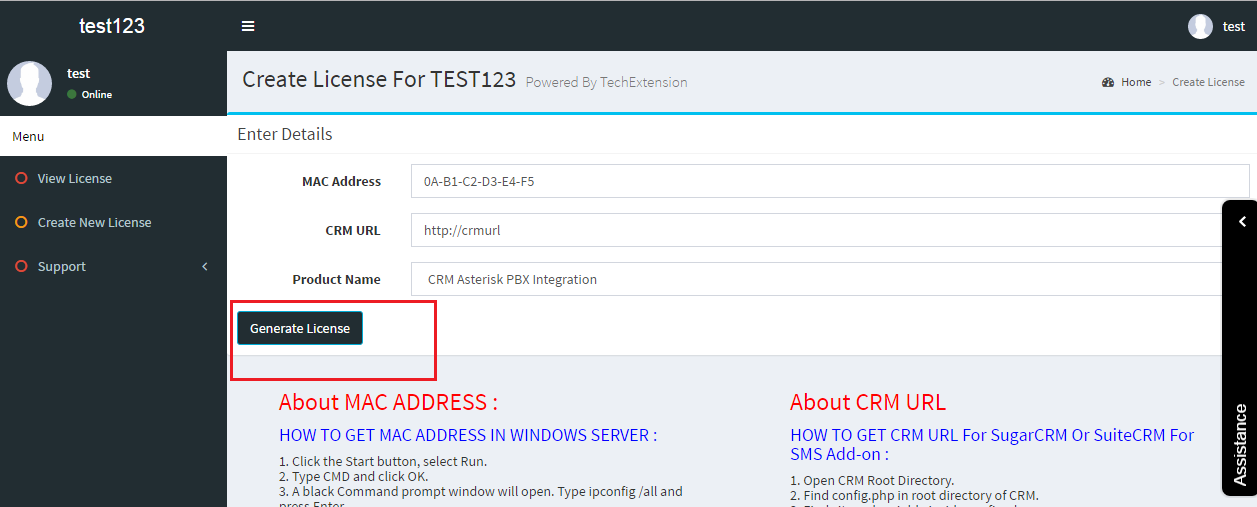
Generate License
1. Server Configuration
Download techextension.zip File For Vtiger
Upload techextension.zip on public web folder on server and extract it ( Example : /var/www/html/techextension or htdocs/techextension ) So web URL Like http://192.168.1.100/techextension ) than follow the steps
After Successfully Upload techextension folder on server, you need to Admin User setting Module. Following steps describe Admin User Configuration process.
Step 1: Go to http://IP/techextension/AsteriskSupport/
Step 2 :Fill sign up form with login name and desire password
Step 3 Login in ( http://IP/techextension/AsteriskSupport/)
Step 4 Do Configuration
Step 5 Enter Your Asterisk Server Details By Step By Steps
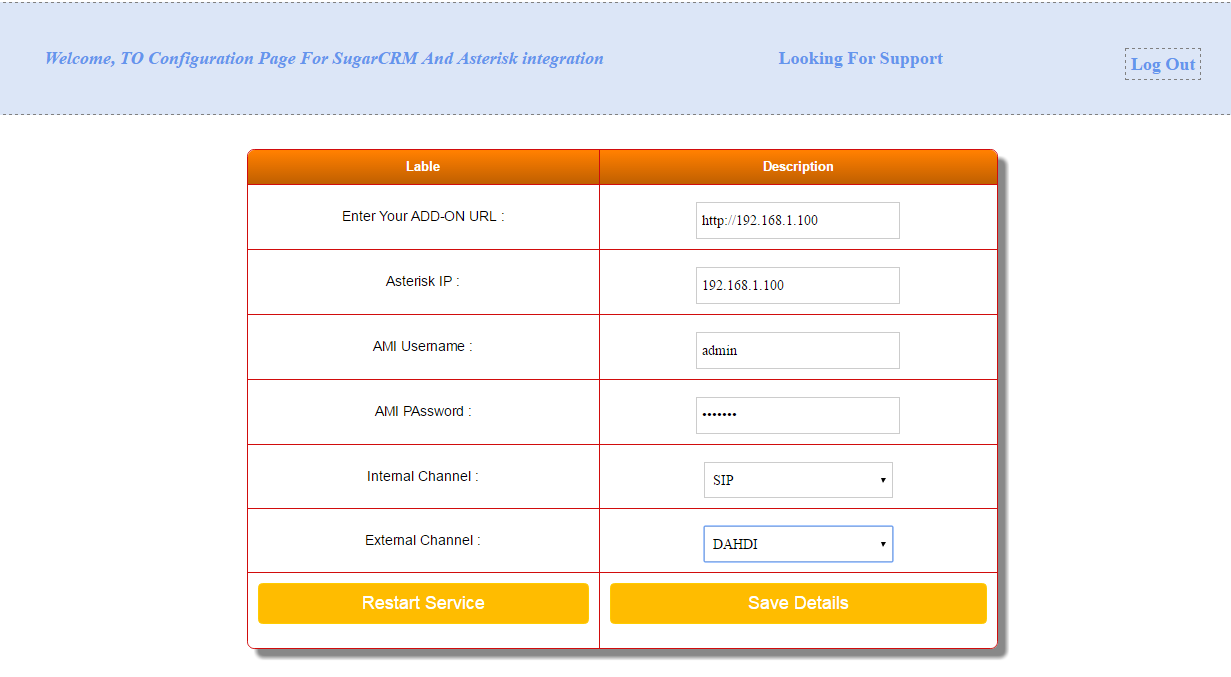
Asterisk IP ( 192.168.1.3)
UserName : Asterisk server Admin Manager User Name
Password : Asterisk server Admin Manager Password
Internal Channel: SIP
External Channel: DAHDI
You will find Asterisk server Admin Manager User Name and password from /etc/asterisk/manager.conf
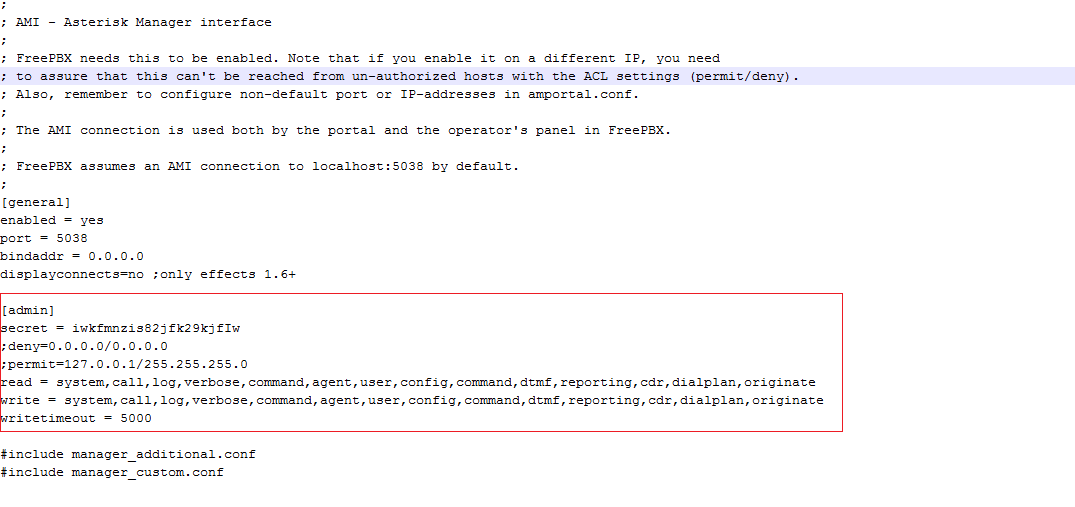
Make sure that your CRM server IP have access to your asterisk pbx server AMI. Check permit and deny setting in manager.conf
After changes in file Restart Asterisk PBX. ( command : /etc/init.d/asterisk restart )
Steps 6 Please Save the Configuration and create Following Panel

Now Access server using Putty or other ssh client and Go to techextension Folder .
(cd /techextension/AsteriskSupport/ )
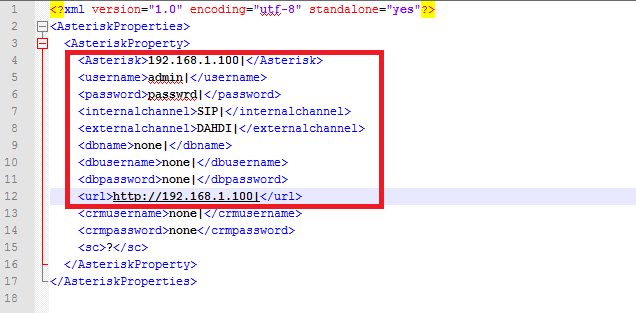
Edit This File AsteriskProperties.xml
< url>http://techextensionurl|< /url>
Here http://techextensionurl is same as your add-on URL If you have URL like http://192.168.1.100/techextension than URL should be http://192.168.1.100
Note : Do not remove | from ends its is used for our purpose.

Now Check Once again all setting .
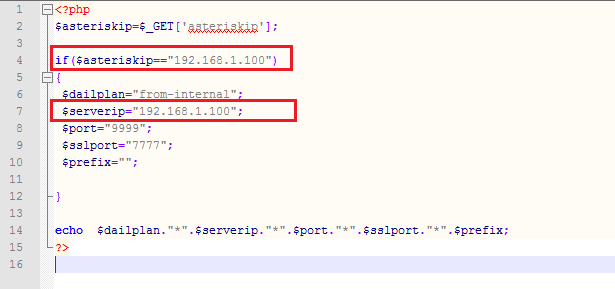
Now Open configuration.php .
Enter same IP of Asterisk ( $asteriskip) entered in AsteriskProperties.xml
Enter same IP of Server ($serverip) which is techextension folder server IP
Now Open crmconfig.php .
Enter ( $crmurl, $userName, $userAccessKey) .
Here $crmurl is CRM URL
Here $userName is admin Username of CRM
Here $userAccessKey is admin AccessKey in admin preference

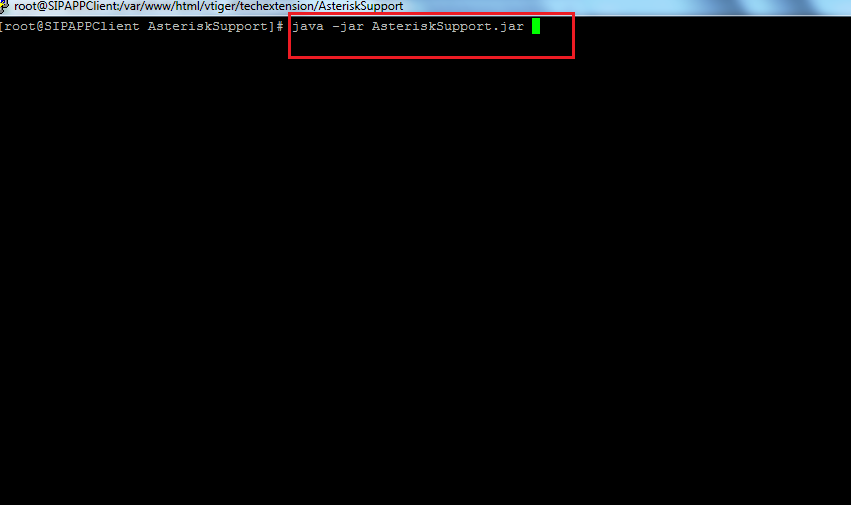
Now Run This Command in putty .
java -jar AsteriskSupport.jar
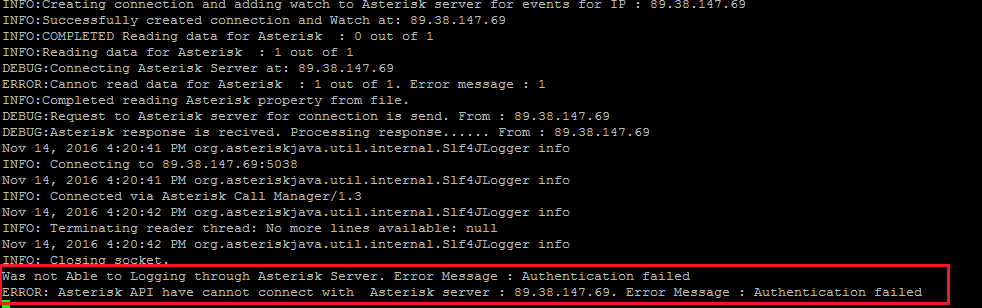
If you get Following message. Check AMI ( Asterisk Manger interface ) User name and Password set on previous above steps
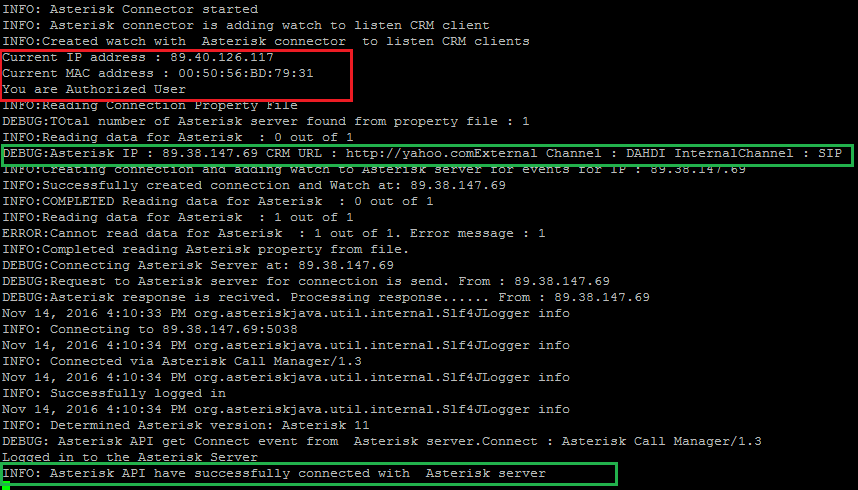
If you get Following message. It is Successfully Integrated
Download Voip File
Extract voip.zip file
Now Run This Command in putty .
pwd
It will Give you path

Put It in to voip file
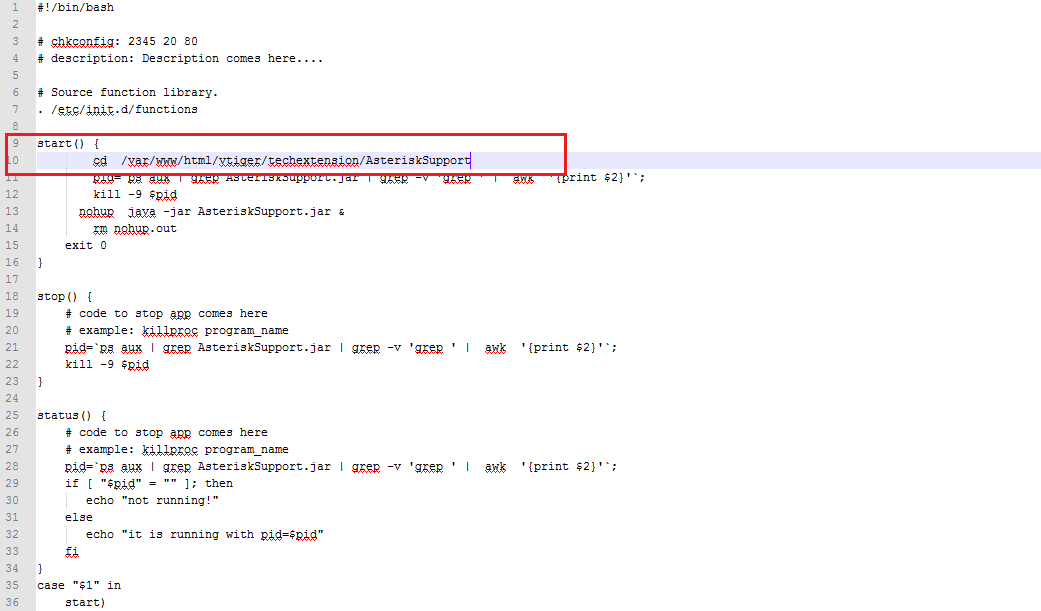
Upload voip file in to /etc/init.d/
Give voip file permission to 755
Run This Command if you have CentOS ( chkconfig voip on && chkconfig --list )
Run This Command if you have Debain OS ( update-rc.d voip defaults )
Techextension add-on command
check status: ( service voip status )
Restart : ( service voip restart )
stop: ( service voip stop )
Start : ( service voip start )
2. End User CRM Configuration
After Successfully Admin User Configuration of Module, you need to End User setting Module. Following steps describe End User Configuration process.
Step 1 : Go to User Panel ( My preference in CRM )
Step 2 : Fill appropriate Details as shown here
VtigerCRM Asterisk Integration Add-on User Configuration.
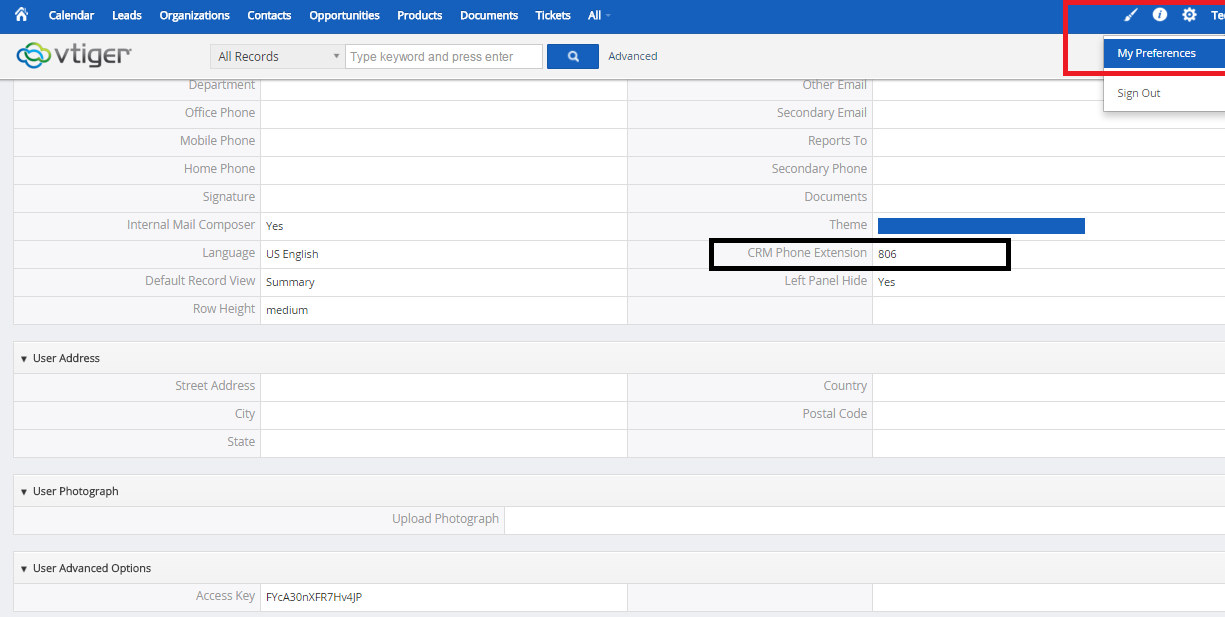
Step: 3 Save the User profile
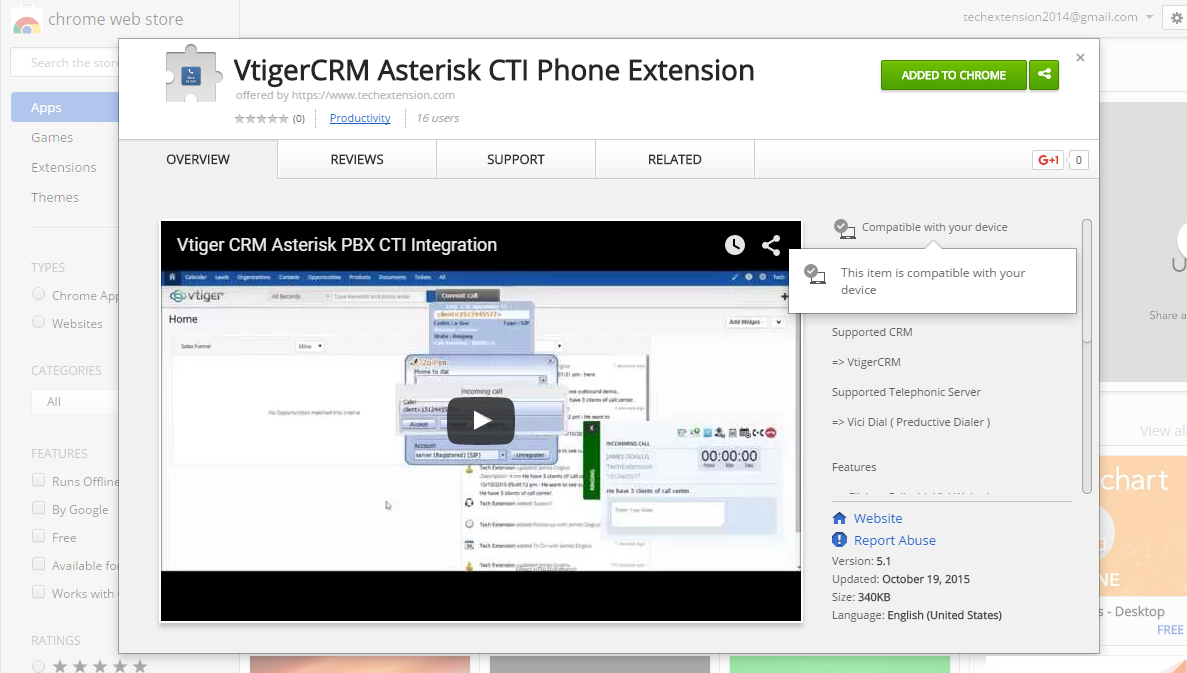
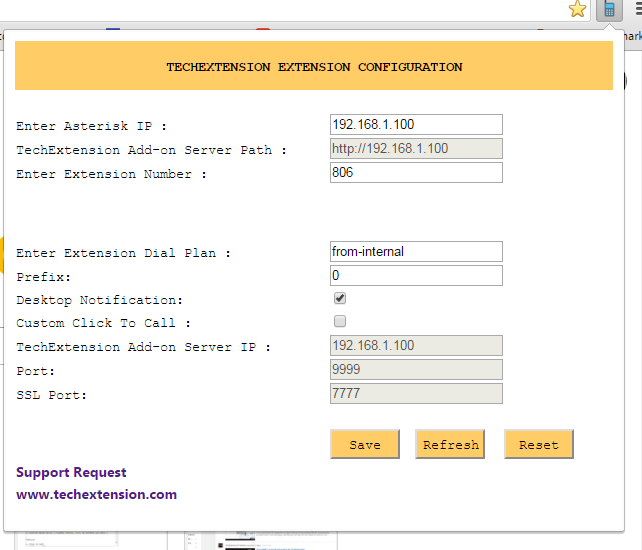
5. End User Chrome Extension Configuration
Go to chrome web store
Configure Chrome Extension
Click on Phone Icon It will open following Set up window .
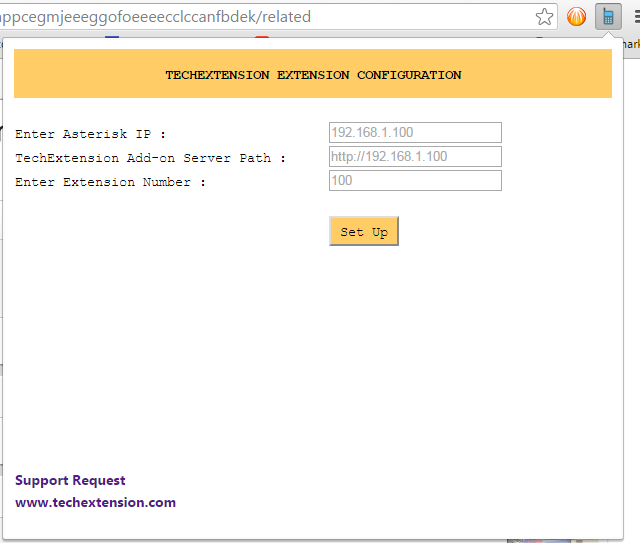
Fill Information and Click on Set-up. It will open following window.
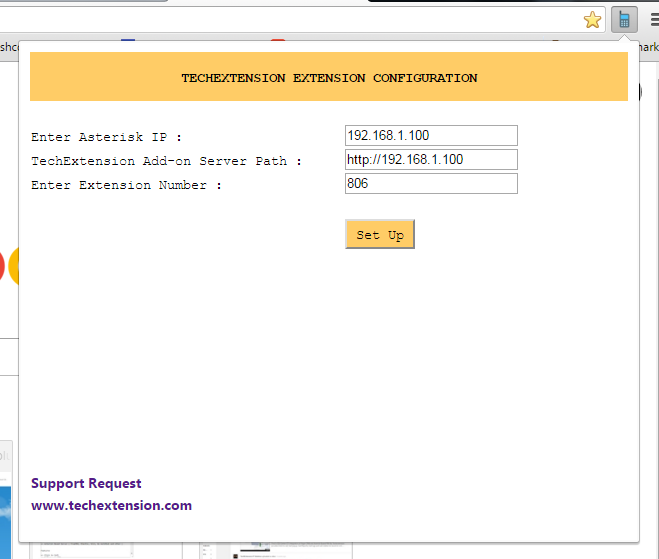
User need to fill following details and save configuration. .
Contact Details
Website: techextension.com Store :store.techextension.com
Email: support@techextension.com Skype: tech.extension
Product Page: VtigerCRM Asterisk Integration